
Introduction
Welcome, intrepid adventurers and savvy packers! Today we’re delving into attaching a sleeping bag to a backpack, an essential skill for anyone keen on exploring the great outdoors. Whether scaling mountains or trekking through forests, understanding how to strap on your sleeping cocoon securely is as crucial as the journey itself. This isn’t just about saving space; it’s a strategic move to balance your load, protect your gear from the elements, and maintain your agility on the trail.
Our mission is to arm you with a comprehensive guide that transforms this sometimes puzzling task into a simple, step-by-step process. We’ll ensure you can efficiently carry your sleeping bag on all your outdoor excursions, leaving more room for essentials and peace of mind. So, let’s get you packed up and ready to embrace the wilderness confidently!
Sources:
Why Proper Attachment Matters
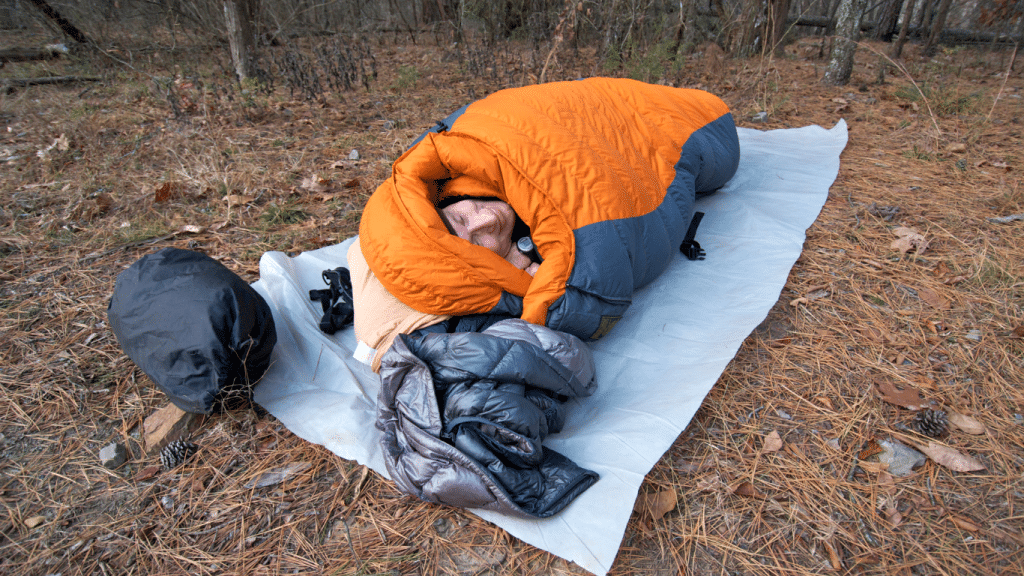
Imagine embarking on a scenic hike, only to be bogged down by a bulky sleeping bag gobbling up three-quarters of your backpack space. Not only does it cramp your style (and your gear), but a poorly packed sleeping bag can throw off your balance, making your trek more akin to a wobbly dance with gravity. To keep your adventure from becoming a juggling act, securely attaching your sleeping bag to your backpack is a game-changer. It’s like giving your pack a sleek, aerodynamic makeover – no more flapping fabric wings as you climb that majestic peak!
By fastening your sleeping bag snugly, you’re not just tidying up; you’re redistributing weight to ensure harmony between backpack and back. The result? A more balanced load that reduces strain on your body and keeps you nimble on the trails. Plus, when you attach your bag externally, you unlock a treasure trove of interior space, leaving ample room for other essentials and quick access to that well-earned trail mix. So, take the time to choose an attachment method that suits your pack and your needs – your body (and your snack stash) will thank you.
Choosing the Right Equipment
Selecting the right backpack and sleeping bag isn’t just about comfort but compatibility. For a harmonious relationship, start by considering the backpack’s features. Look for gear loops and pad loops, essential for securing your sleeping bag externally if needed. A backpack with an integrated sleeping bag compartment can be a game-changer, offering a dedicated space for your bag.
When it comes to sleeping bags, size and weight are king. Aim for a lightweight option that compresses down without compromising on warmth. Down insulation is a favourite for dry climates due to its superior packability and warmth-to-weight ratio, but it loses its insulating properties when wet. Synthetic fills are more forgiving in damp conditions and typically more budget-friendly. For the best fit, ensure your sleeping bag features a compatible left or right-hand zip to match your backpack’s design.
Finally, don’t overlook additional features like stash pockets for easy access to essentials or a pillow pocket to stuff clothes and create a makeshift pillow. Prioritize a durable water-repellent (DWR) finish on the shell to prevent moisture from seeping in. With these tips, you’ll be well on your way to a well-equipped, stress-free adventure.
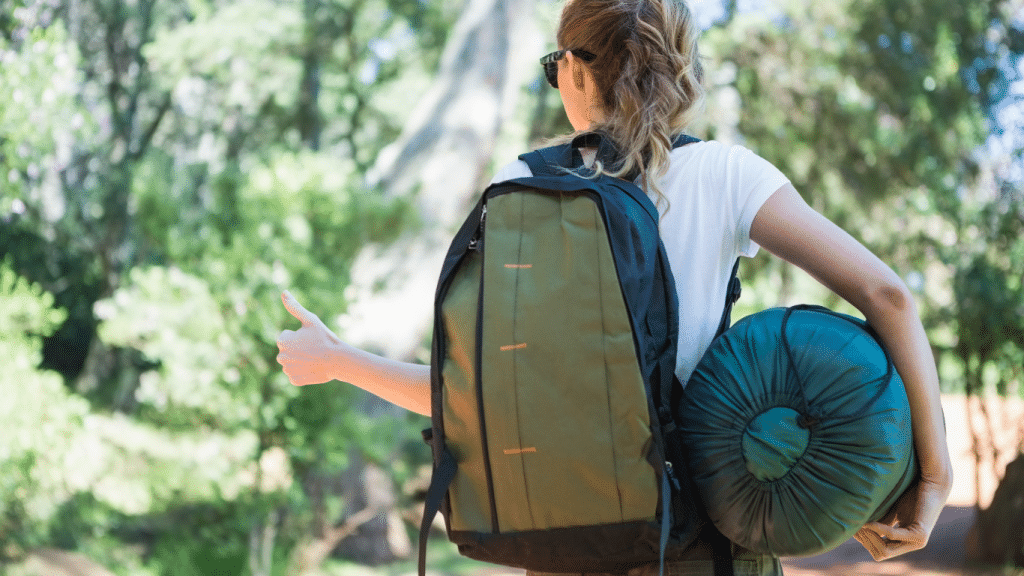
compression straps, external attachments, and internal attachments
When securing a sleeping bag to your backpack, there are three primary methods: compression straps, external attachments, and internal attachments. Each has its own pros and cons, and the best method for you will depend on your situation.
- Compression Straps: These built-in straps help consolidate your pack’s contents and can double to hold a sleeping bag. They’re great for keeping your bag snug and secure, but they may not be up to the task if they’re too short or weak.
- External Attachments: Gear loops, carabiners, and bungee cords offer flexibility for attaching sleeping bags externally. Gear loops are sturdy but can cause the bag to swing, potentially throwing off your balance. Bungee cords are versatile and easy to use, although they add more weight.
- Internal Attachments: Some backpacks have dedicated sleeping pad loops or spaces under the hood, ideal for an inflatable pad, leaving straps free for other items. This method is excellent for protection and weight distribution but may not be available on all backpacks.
Choose compression straps when your bag is compact, and the straps are robust, external attachments for ease and flexibility, and internal attachments for the best protection and load balance. Remember, the right method is the one that best suits your backpack’s features and your packing needs.
Sources:
How to Attach a Sleeping Bag
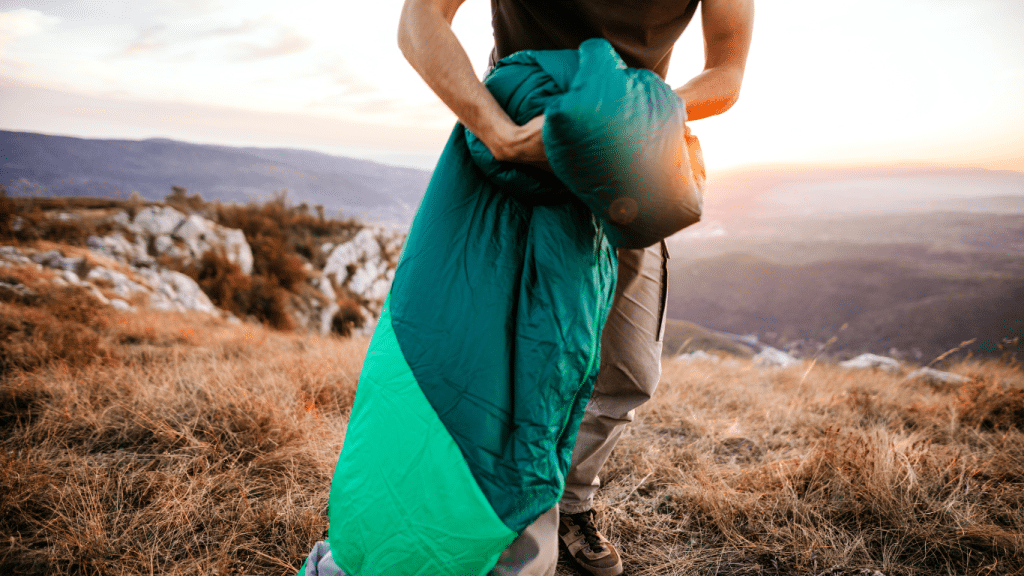
Securing a sleeping bag in your backpack isn’t just about saving space; it’s an art that enhances balance and mobility. Imagine your sleeping bag as a marshmallow that needs snugly tucked in without being squished. Here’s how to achieve that perfect fit:
- Start by laying out your sleeping bag evenly. If it comes with a stuff sack, make sure it’s tightly rolled and packed into the sack.
- Locate the attachment points on your backpack. These are usually loops or straps at the base or top of the pack.
- Using paracord or the backpack’s built-in straps, thread through the loops on the stuff sack.
- Pull the straps or cord tight to secure the sleeping bag, ensuring it’s horizontally level with the pack to maintain balance.
- Finish off with a reliable knot, such as a bowline or double half hitch, for easy removal when you set up camp.
For a visual demonstration, you might find this tutorial helpful. Remember, the goal is a snug, secure fit that prevents the sleeping bag from swinging or shifting, which could throw off your hiking rhythm. Happy trails and tight knots!
Common Mistakes and How to Avoid Them
One common misstep in backpack preparation is the misuse of straps when attaching a sleeping bag. Enthusiasts might grab any strap in sight, but specificity matters. Identify the correct straps or loops for securing sleeping bags to sidestep this pitfall. If these aren’t on your backpack, consider investing in specialized straps to handle the job.
Another frequent blunder is a poorly secured sleeping bag, which can lead to a game of trailside tug-of-war. Ensure your bag is fastened tightly to prevent it from swinging like a pendulum with every step. This spares you from the awkward wobble and saves your back and neck from unnecessary strain. To avoid this, make sure to pull the straps snugly and check the security of your sleeping bag before you begin your hike.
Lastly, remember that resolving these issues is crucial before you hit the trails. A well-attached sleeping bag means one less worry in the wilderness and more time to enjoy the scenic symphony of nature.
Other Attachment Options
When the trail calls for ingenuity, additional attachment methods such as bungee cords, daisy chains, and carabiners can be your best friends. These options offer versatility and can be particularly useful when traditional straps aren’t long enough or when you’re carrying an internal-frame backpack. For instance, bungee cords with their elastic nature and handy hooks can be crisscrossed around your pack to secure your sleeping bag snugly. Attach one hook, weave the cord through, and latch onto the other side.
If your pack features a daisy chain, you can loop cords or carabiners through it for a stable hold. And carabiners are a hiker’s Swiss Army knife; clip them onto gear loops or stuff sack straps, and voila, your sleeping bag is going nowhere. Remember, while these methods add a sprinkle of weight, they’re a small price to pay for the added convenience and space inside your pack. Always prioritize personal preference and comfort; you’ll be the one shouldering the load on the great outdoors.
For more detailed step-by-step instructions on using these alternative methods, check out this comprehensive guide on My Open Country.
