Are you ready to take your crochet backpack pattern to the next level? Enhancing your crochet skills with advanced techniques can transform a simple crochet backpack pattern into a standout piece that’s both functional and stylistically impressive.
The creation of a crochet backpack is not just a craft; it’s an expression of personal style and practicality merged into one. In this introductory chapter, we delve into the world of crochet backpacks, exploring their benefits and the primary crochet techniques used to make these functional pieces of art.
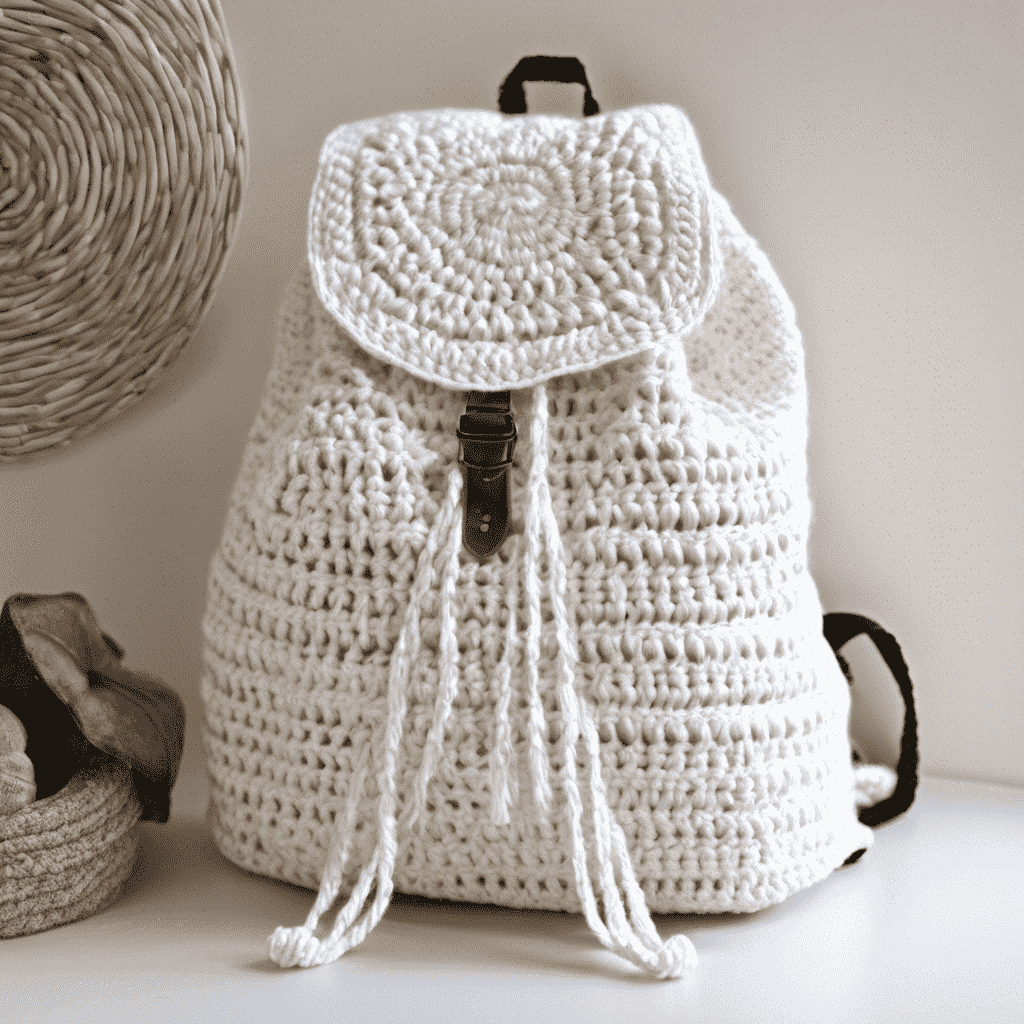
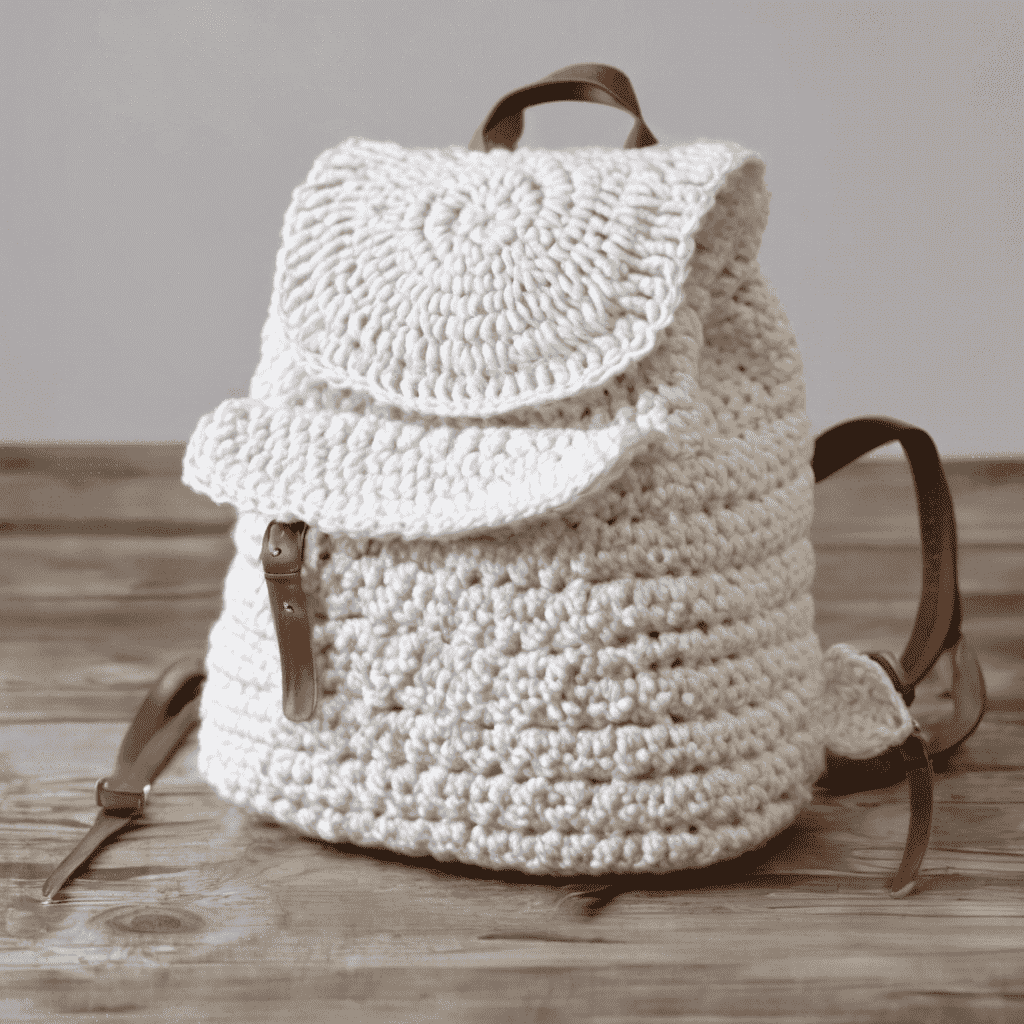
Discover a variety of crochet backpack patterns to inspire your next project. Interested in learning how to crochet a backpack from scratch? Explore our comprehensive guide on “How to Crochet a Backpack” for step-by-step instructions and tips to create your unique backpack design, perfect for adding a personal touch to your accessory collection.
Materials and Tools Needed
Before you dive into the intricacies of crocheting your backpack, it is essential to gather all the necessary materials and tools. Having everything on hand will ensure a smooth crocheting experience. Here’s what you’ll need to begin your project:
Yarn Selection
- Type of Yarn: Choose a yarn that is durable and can withstand daily wear and tear. Wool, acrylic, cotton, or a blend are good choices for backpacks.
- Yarn Weight: Medium-weight yarns like worsted weight are commonly used for backpacks, as they provide a good balance of thickness and functionality.
- Color: Select colors that match your style or the intended use of the backpack. Consider if you want a solid color, varied, or striped pattern.
- Quantity: Ensure that you have enough yarn to complete the project. Check the pattern for the total yardage required to avoid running short.
Crochet Hooks
- Hook Size: The right size will depend on the thickness of your yarn and the pattern’s gauge. Typically, a hook size that creates a firmer fabric is ideal for backpacks to help them hold their shape.
- Material: Hooks can be made of aluminum, plastic, wood, or bamboo. Choose a comfortable handle to ease the process of crocheting for extended periods.
Accessories and Additional Tools
- Stitch Markers: Useful for marking rounds and important stitches, especially when working in the round.
- Tapestry Needle: Needed for weaving in ends once the backpack is completed and for sewing pieces together.
- Scissors: Have a sharp pair on hand for cutting yarn.
- Measuring Tape: Vital for measuring parts of the backpack to ensure they match the pattern dimensions.
- Lining Fabric: Optional, but a fabric lining can provide additional strength and protection to your backpack’s interior.
- Fasteners: Depending on the design, you may need zippers, buttons, toggles, or magnetic snaps.
- Strap Material: Some patterns call for crocheted straps, while others may use fabric or leather straps for added strength.
- Grommets or Eyelets: For reinforcing holes where drawstrings or straps are attached.
By preparing these materials and tools, you are setting the stage for a well-organized and enjoyable crochet project. Be sure to check your pattern for any additional specific materials required.
Basic Crochet Stitches Recap
Before starting on a crochet backpack pattern, it’s important to have a solid understanding of the basic crochet stitches. These foundational stitches form the basis for most crochet projects and patterns. This recap will provide a brief overview of the stitches you’re likely to use in creating your backpack.
Slip Stitch (sl st)
- Purpose: The slip stitch is used to join stitches together, to move across the fabric without adding height, or to finish off a project.
- How to Make: Insert the hook into the designated stitch, yarn over, and pull the yarn through both the stitch and the loop on the hook in one go.
Chain Stitch (ch)
- Purpose: The chain stitch is the starting point for most crochet projects, serving as the base from which you build your fabric.
- How to Make: Start with a slip knot on the hook, yarn over, and pull the yarn through the loop on the hook. This forms your first chain. Repeat for the required number of chains.
Single Crochet (sc)
- Purpose: Single crochet provides a tight and dense fabric, making it ideal for sturdy crocheted items like a backpack.
- How to Make: Insert the hook into the designated stitch, yarn over and pull up a loop (two loops on the hook), yarn over again, and draw through both loops on the hook.
Double Crochet (dc)
- Purpose: A versatile stitch that’s taller than a single crochet, providing more drape and a less dense texture.
- How to Make: Yarn over, insert the hook into the designated stitch, yarn over and pull up a loop (three loops on hook), yarn over and draw through two loops (two loops on hook), yarn over again and draw through the remaining two loops.
Learning and practicing these stitches will ensure your crocheted backpack is both beautiful and functional. As you progress, you may encounter variations or combinations of these basic stitches, as well as more advanced techniques. Always refer to your pattern for specific instructions and stitch definitions to ensure accuracy in your work.
As you become more comfortable with these stitches, you’ll be able to tackle your crochet backpack pattern with confidence and create a durable, handcrafted item that is truly unique and personal.
Understanding the Pattern
Creating a crochet backpack pattern can become much clearer once you understand how to read and interpret crochet patterns. This chapter will provide you with the tools you need to decode pattern instructions and abbreviations, setting you up for success as you tackle your backpack project.
Reading Crochet Patterns
- Pattern Structure: Crochet patterns generally begin with a list of materials, followed by the gauge, stitch explanations, and then step-by-step instructions for each part of the project.
- Gauge: Checking gauge ensures your backpack will turn out the correct size. It is a measure of how many stitches and rows fit into a specified area, usually a 4×4 inch square with the recommended yarn and hook size.
- Repeat Instructions: Patterns often use asterisks (*) or other symbols to indicate a sequence of stitches to be repeated. Pay close attention to these as they are crucial for shaping and creating patterns within your project.
Patterns also sometimes include special stitches or techniques, which should be explained within the pattern or in an accompanying glossary.
Understanding these basic components will guide you as you begin to follow the instructions for your crochet backpack. Always take the time to read through the entire pattern before starting your project. This will give you an overview of the construction process and help you identify any areas where you may need to pay extra attention or learn a new technique.
With these tools, you will be well-equipped to start your journey from a written pattern to a tangible, functional backpack created by your own hands.
Crochet Backpack Pattern Instructions
The heart of any crochet project lies in the detailed instructions that guide you from start to finish. In this section, we’ll go over the typical steps you might find in a crochet backpack pattern. These steps should be adapted based on the specific pattern you choose, but the following overview will give you an idea of the process.
The Base of the Backpack
- Starting: Begin with a series of chain stitches that will form the foundation of the backpack base. This may be a simple circle, oval, or rectangle, depending on the design.
- Working in Rounds: Often, the base is worked in continuous rounds, increasing evenly to create the desired shape and size.
Body of the Backpack
- Building Up: Once the base is complete, you’ll continue by building the body upwards in spiraling rounds or joined rows.
- Stitch Pattern: The body may incorporate different stitch patterns for texture or structural integrity. Follow the pattern carefully to maintain the correct stitch count and appearance.
Flap and Straps
- Flap: If the backpack has a flap, it is usually created separately and then attached to the top back of the backpack. This section may use a tighter stitch pattern for durability.
- Straps: Straps can be made by crocheting long, thick strips that are then sewn onto the backpack. Alternatively, they might be created by working directly off the backpack body for added strength.
Each crochet backpack pattern will have its unique set of instructions, so it’s important to follow your specific pattern closely. It’s also wise to check if the designer has provided any tips and tricks that might make your crocheting experience smoother.
As you work through these instructions, remember that count and consistency are key. Count your stitches regularly to ensure accuracy, and maintain a consistent tension to achieve a uniform fabric. Lastly, it’s fine to make mistakes; just make sure to unravel and correct them to keep your backpack looking its best.
Material Selection for Your Crochet Backpack Pattern
The type of materials you choose for your crochet backpack pattern can affect its look, feel, and longevity. Consider the following:
- Yarn Choice: Opt for durable yarns like acrylic, nylon blends, or cotton for your crochet backpack pattern. These fibers can withstand frequent use and are easy to clean.
- Hook Size: Ensure you have the correct hook size for your yarn weight to achieve the ideal gauge for your crochet backpack pattern.
- Embroidery Floss: For intricate details in your crochet backpack pattern, you might need embroidery floss for surface work or edging details.
Conclusion
As you conclude your crochet backpack pattern project, take a moment to appreciate the work and creativity that went into crafting this personalized accessory. From the selection of materials and tools to the finishing touches that give it character, every step has contributed to your backpack’s unique story.
Final Thoughts
- Review the Work: Look over your backpack for any missed stitches, loose ends that need weaving in, or adjustments that might be needed. It’s not uncommon to have small imperfections, but they often add to the charm of a handmade item.
- Durability Check: Tug gently on straps and fasteners to ensure they are securely attached and ready for use.
- Reflect on the Experience: Consider what you’ve learned from the process, what you might do differently next time, and what techniques you’ve come to master.
Use and Care
- Usage Tips: Treat your backpack with care, especially if using delicate yarns or if it’s heavily embellished. Overloading or rough handling can stretch or damage your crochet work.
- Cleaning Guidelines: Follow the care instructions for the yarn used in your backpack to keep it clean. Some yarns are machine washable, while others require hand washing or spot cleaning.
Sharing Your Work
- Showcase Your Backpack: Flaunt your creation on social media, in crochet groups, or among friends and family.
- Inspiring Others: Use your finished project to inspire others to take up the craft or to tackle their previously daunting project ideas.
Moving Forward
- Next Projects: Reflecting on the backpack project will likely generate ideas for future work. More backpacks with varying features, or perhaps coordinating accessories like wallets or hats?
- Continual Learning: Each project builds your skill set, making you a more adept crocheter. Embrace the lifelong learning journey of the craft.
Creating a crochet backpack from scratch is a blend of technical skill, artistic expression, and practical functionality. It’s a testament to the joy of making something with one’s own hands. Enjoy the fruits of your labor and the adventures to come with your new backpack.
Happy crocheting!